

When it comes to home maintenance and renovation, one crucial but often overlooked aspect is the electrical panel. Your electrical panel is the heart of your home’s electrical system and is responsible for distributing power to every corner of your house. Over time, it may become outdated, inefficient, or even unsafe, necessitating a replacement.
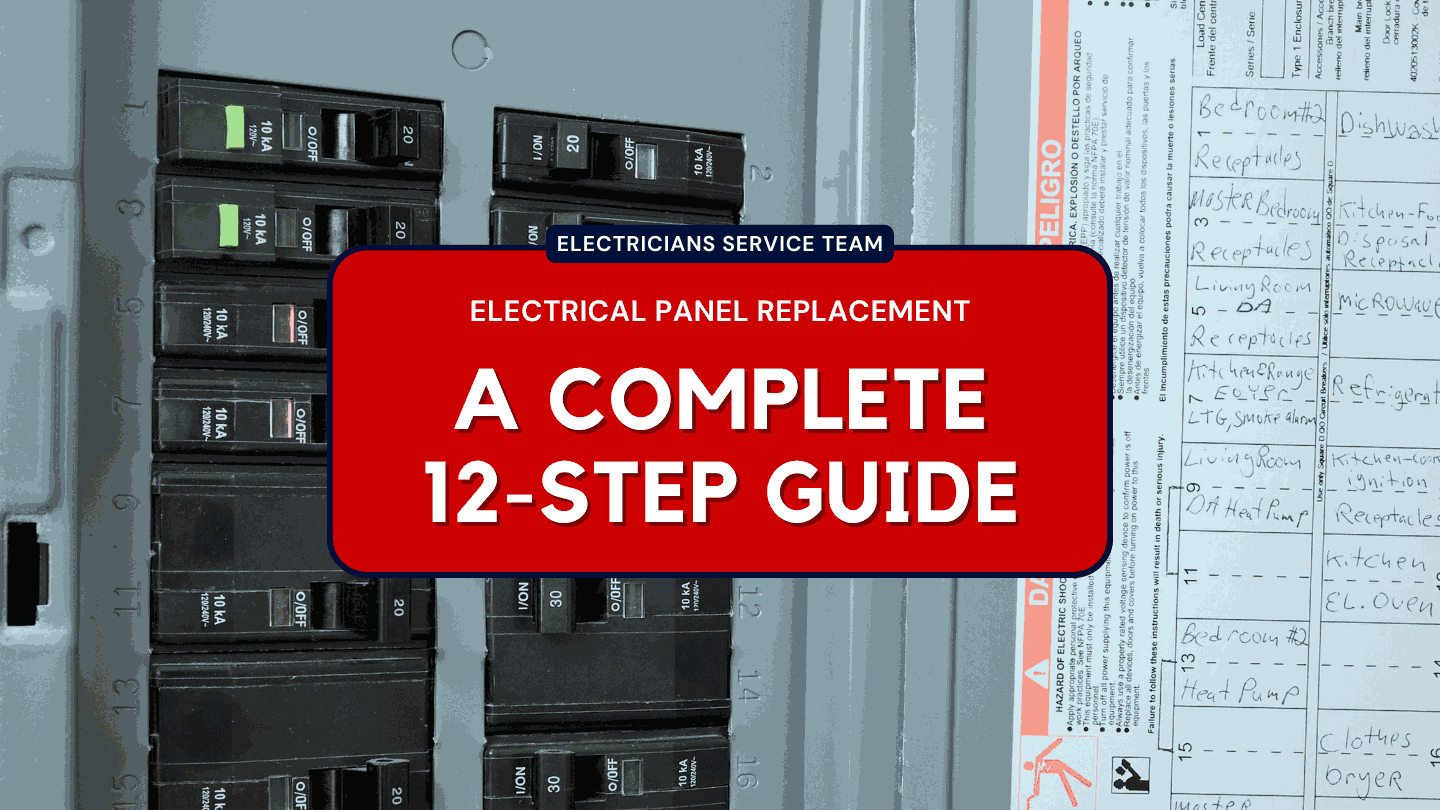
In this comprehensive 12-step guide, we aim to shed light on the process of electrical panel replacement. Whether you’re a seasoned DIY enthusiast or simply looking to understand the procedure, this guide will provide a clear roadmap to ensure a smooth and safe transition. Let’s embark on this journey to enhance the safety and efficiency of your home’s electrical infrastructure.
Getting Started with Electrical Panel Replacement
If you’re facing electrical issues or your breaker panel is outdated, it’s time to consider breaker panel replacement. This crucial task ensures the safety and efficiency of your electrical system. Before diving in, familiarize yourself with the types and signs that signal it’s time for replacement.
Understanding Electrical Panels

Electrical panels, often referred to as breaker boxes or distribution boards, are crucial components of electrical systems. They serve to safely distribute electrical power from a main source to various circuits in a building.
Here are the types of electrical panels:
- Main Service Panels are the primary electrical distribution point in a building. They receive electricity from the utility company and distribute it throughout the structure. These panels typically contain main circuit breakers or fuses to shut off power to the entire building.
- Subpanels are secondary panels connected to the main service panel. They help distribute power to specific areas or circuits within a building. Subpanels provide greater control and flexibility in managing electricity in different parts of a structure.
- Main Lug Panels are similar to main service panels but lack a main disconnect switch. They are often used as subpanels or in buildings where the main disconnect is located elsewhere.
- Transfer Switches are essential for backup power systems. They enable the seamless switch between the main power source and an auxiliary power source, such as a generator, during outages.
- Fuse Boxes are older electrical panels that use fuses to protect circuits. While less common today, some homes and buildings still have them. Fuses need to be replaced when they blow, unlike circuit breakers, which can be reset.
Signs That You Need a Replacement
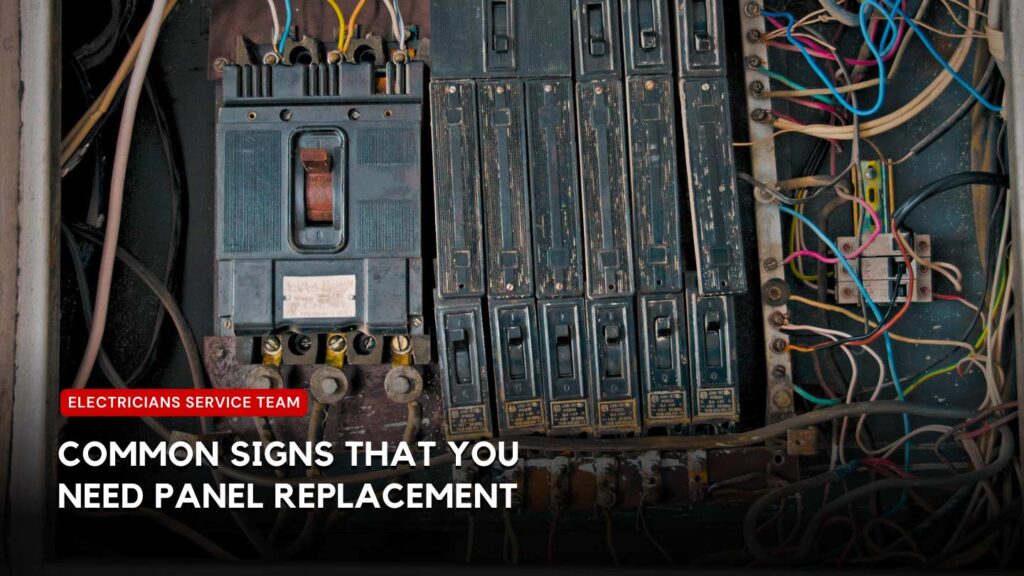
Recognizing signs that indicate the need for the replacement of electrical panels is essential for safety and efficiency. Common signs include:
- Frequent circuit breaker trips.
- Flickering or dimming lights.
- Burn marks or a burning smell near the panel.
- Outdated or insufficient panel capacity.
- Corrosion or rust on the panel.
- Persistent electrical issues.
For more details on these warning signs and why they signal a need for a replacement, read our comprehensive article about 12 Top Tips for Your Electrical Panel Replacement Journey. Addressing these signs promptly ensures a reliable and safe electrical system for your home or business.
Safety Considerations
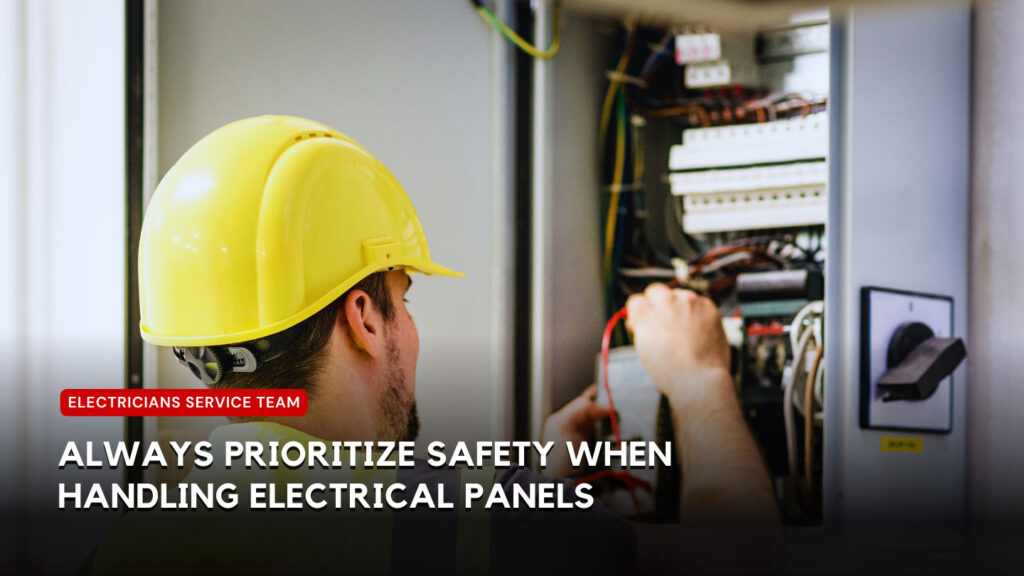
When dealing with electrical panels, safety is paramount. Always hire a licensed electrician for inspections and replacements to avoid expensive electrical panel replacement costs and potential hazards. Never attempt DIY repairs, as it can lead to dangerous consequences. Prioritize regular maintenance to ensure your electrical system operates safely and efficiently, preventing costly emergencies down the line.
Step-by-Step Guide to Replacing Your Electrical Panel
Replacing your electrical panel is a crucial task that requires careful planning and execution. This step-by-step guide will walk you through the entire process, ensuring your safety and the proper functioning of your electrical system. By following these steps, you can confidently upgrade your electrical panel while avoiding a high-priced electrical box replacement cost and ensuring efficient fuse box replacement, enhancing the safety and efficiency of your home’s electrical system.
Step #1. Preparation and Safety Protocol

Preparation is paramount in a change fuse box or breaker box replacement project. Begin by ensuring your safety. Turn off the main power supply to your home to eliminate the risk of electric shocks or accidents.
Gather essential tools such as:
- Screwdrivers
- Pliers
- Wire strippers
Also, equip yourself with safety gear, including gloves and safety glasses. Depending on your location, you might need a permit for this project, so check local regulations.
Clear the area around the panel to make space for work, ensuring it’s well-lit and dry. Communicate the power outage plan with your family or occupants to prevent any surprises. Safety should always be the top priority during this project.
Step #2. Old Panel Evaluation
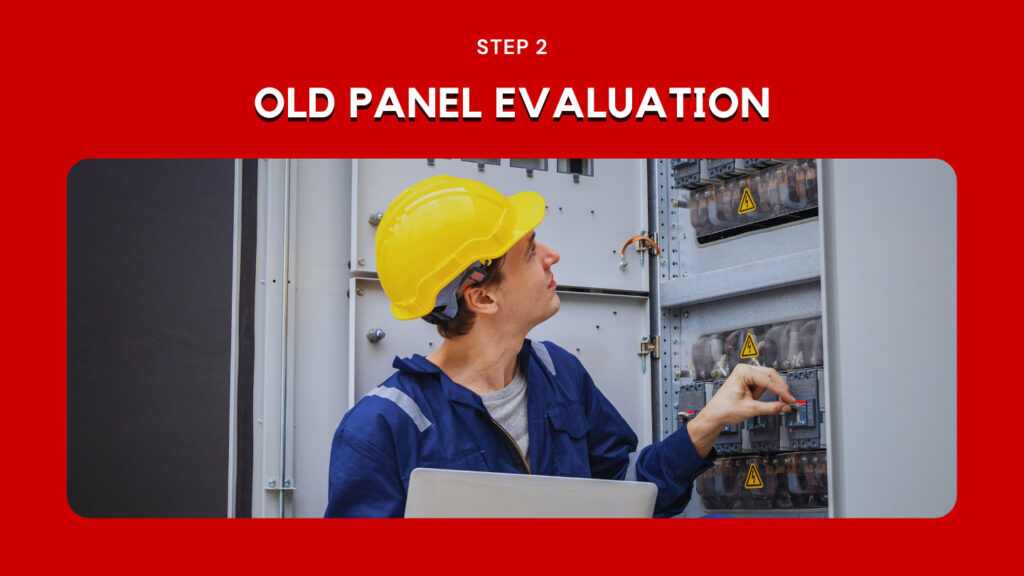
This step involves a thorough examination of your existing electrical panel. Look for any signs of wear, damage, or malfunction, especially in components related to the fuse box switch replacement. Check for outdated components like fuses that may need replacing, and assess whether an electrical box upgrade is necessary.
It’s essential to evaluate the panel’s capacity to determine if an upgrade is necessary to meet your current and future electrical needs. Additionally, assess the condition of the wiring leading into the panel, looking for any signs of wear or deterioration.
The evaluation phase helps you understand the state of your current electrical setup, ensuring that any necessary upgrades or replacements are identified and addressed during the panel replacement process.
Step #3. Panel Selection Process
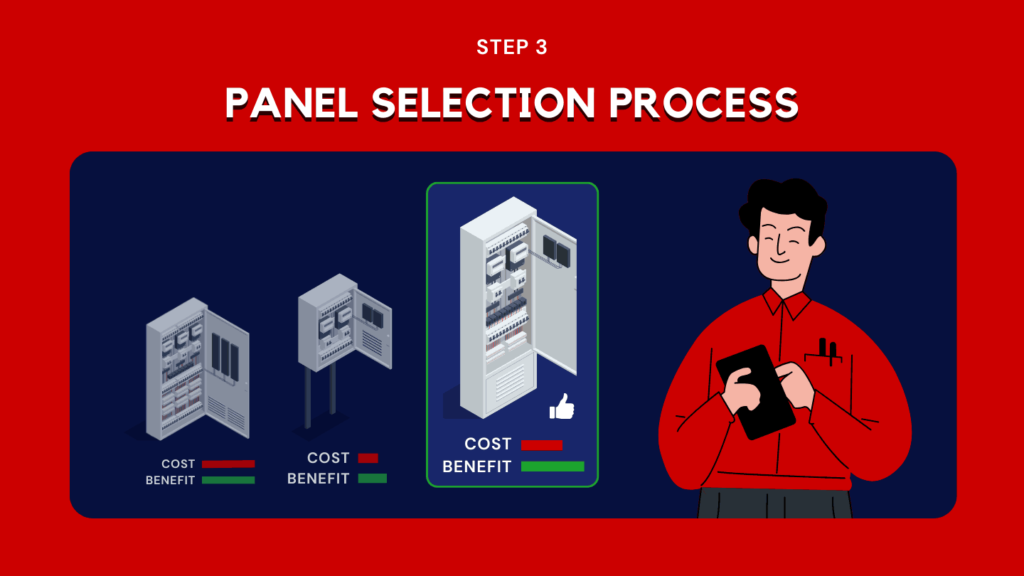
Selecting the right electrical panel is crucial for a successful replacement. Naturally, consult a licensed electrician to determine the appropriate size, type, and brand of the new panel. Consider your current and future electrical demands, making sure the chosen panel can handle your requirements. It’s essential to ensure that the new panel complies with local building codes and regulations.
Before making a choice, be sure to examine the panel closely. Key factors to consider include:
- Circuit Breaker Types: Choose circuit breakers that match your specific electrical needs. Different types are designed for various applications, such as standard, AFCI, or GFCI breakers.
- Surge Protection: Consider panels with built-in surge protection to safeguard your electrical system and connected devices from voltage spikes and surges. This extra layer of protection can prevent costly damage.
This consideration will help you make an informed decision about circuit panel replacement costs and the wiring services required. Choosing the right panel ensures a safe and efficient electrical system for your home, and if needed, it can also replace a fuse in the fuse box.
Step #4. Disconnection and Removal
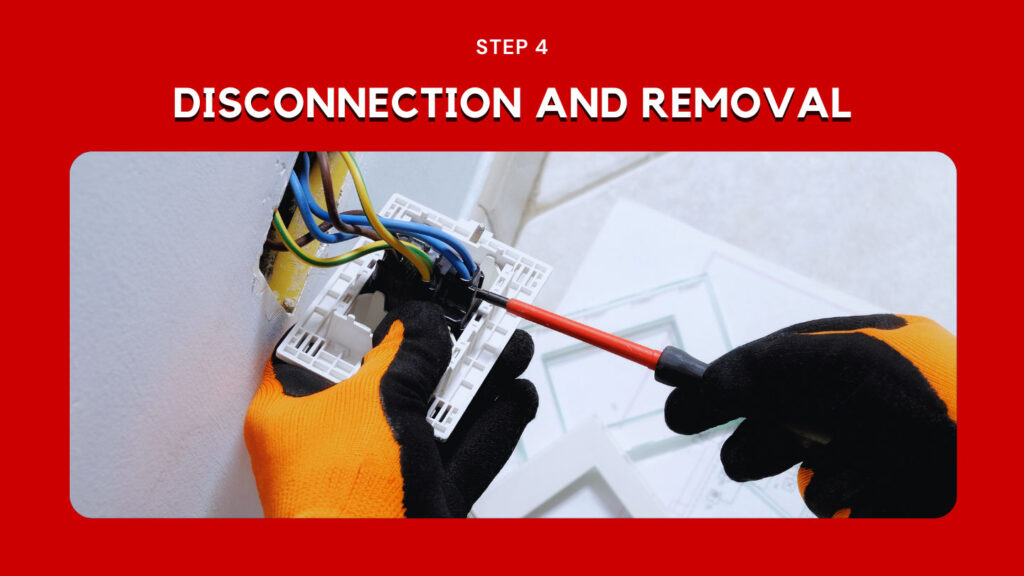
The disconnection and removal of the old electrical panel is a critical step in the replacement process. Follow the steps carefully.
- Safely disconnect and de-energize the old electrical panel to prevent electrical accidents.
- Remove the panel cover carefully.
- Systematically disconnect all wires and breakers.
- Label each connection for reassembly to ensure proper reinstallation.
- Take extra precautions to ensure safety while working with live electrical components.
- Once everything is disconnected, carefully remove the old panel from the wall to avoid damaging wiring or causing hazards in the process.
This step sets the stage for the installation of the new panel, ensuring a safe and organized transition.
Step #5. Installation of New Panel
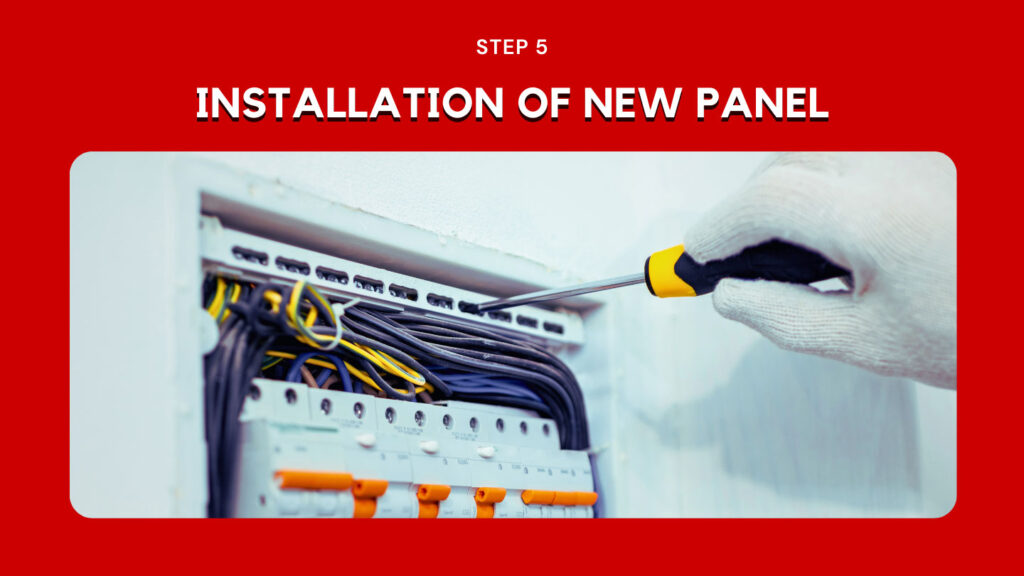
Proper installation is essential to prevent electrical hazards, fires and to comply with local electrical codes and regulations. Here’s the step-by-step process of installing a new electrical panel.
- Preparation and Planning:
Before beginning the installation process, you should have already carefully selected the location for the new panel, considering factors like accessibility, proximity to the main power source, and adherence to local building codes. Ensure that the area is clean and free from any obstructions.
- Secure Mounting:
Begin by mounting the new electrical panel securely in the designated location. This may involve attaching it to a wall or panel board using appropriate mounting hardware. It is crucial to ensure that the panel is level and plumb, which means it is both horizontally and vertically straight. This ensures ease of use and prevents stress on the panel and its components.
- Grounding:
Proper grounding is one of the most critical aspects of electrical panel installation. It is essential for safety and helps prevent electrical shock and equipment damage. Follow these steps for proper grounding:
- Grounding Electrode System: Connect the grounding electrode conductor (usually a copper or aluminum wire) to the grounding electrode system. This typically involves attaching one end of the conductor to a ground rod or plate, driven into the earth, and the other end to the ground bar or lug within the panel.
- Grounding Conductor: Attach the grounding conductor from the service entrance cable to the panel’s grounding bus bar. Ensure that all connections are securely tightened, and no corrosion or loose strands exist.
- Bonding: Bond all metal water and gas pipes in the vicinity of the electrical panel. This is essential to establish equipotential bonding and prevent potential voltage differences between conductive materials.
- Grounding Electrode Conductor Sizing: Ensure that the grounding electrode conductor size complies with local electrical codes and is adequate for the size of the electrical service.
- Ventilation:
Adequate ventilation around the panel is crucial to prevent overheating, which can lead to component damage or even fire. Ensure that there is enough clearance around the panel as per the manufacturer’s instructions and local codes. Do not obstruct the airflow to and from the panel with any objects or materials.
- Connection of Wiring:
Carefully connect all the electrical wiring to the new panel. This includes the supply conductors (typically from the meter or main disconnect), branch circuit conductors, and neutral conductors. Ensure that all connections are properly torqued to manufacturer specifications and that there are no loose or exposed wires.
- Labeling and Documentation:
Clearly label each circuit breaker or fuse with its corresponding circuit or load. This is crucial for future maintenance and troubleshooting. Create a panel schedule or directory that lists the circuits and their intended purposes.
- Inspection and Testing:
Before closing the panel cover, conduct a thorough inspection of all connections and ensure that there are no loose wires, exposed conductors, or potential hazards. Once satisfied, close the panel cover securely.
- Power Restoration:
If the installation involves replacing an existing panel, carefully restore power by connecting the service conductors to the new panel or turning on the main disconnect. Test each circuit to ensure that it is functioning correctly.
- Final Inspection:
It is highly recommended to have your installation inspected by a qualified electrical inspector to ensure compliance with local electrical codes and safety standards.
Step #6. Wiring and Reconnection
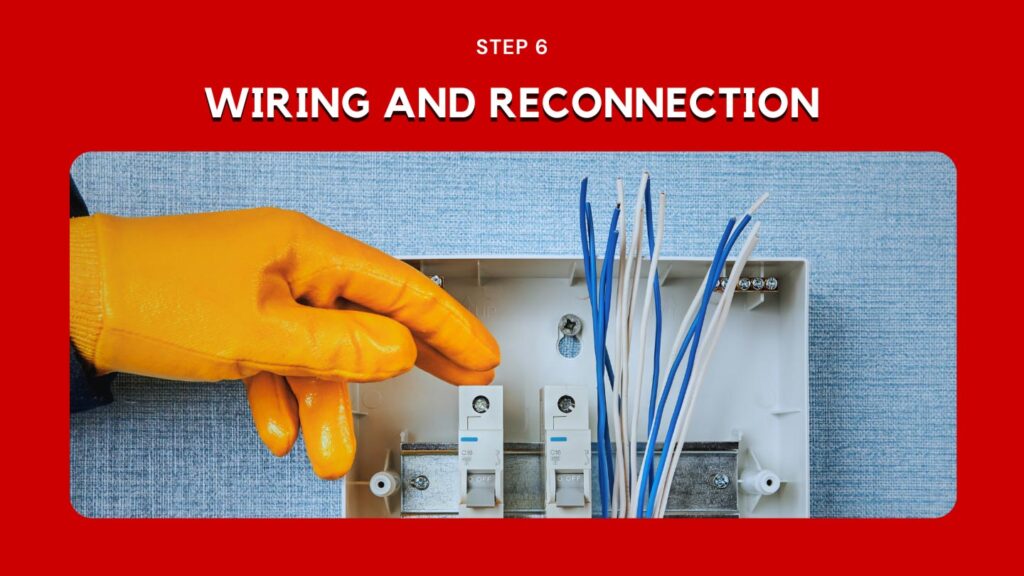
This step involves the crucial process of wiring and reconnection after replacing the electrical panel. It’s essential to approach this step with precision. Start by referencing the labels you created during the disconnection phase to guarantee that each wire is accurately and securely reconnected to the new panel. Pay close attention to tightening all connections adequately and using suitable connectors to maintain the electrical connections’ integrity.
Also, this step demands meticulous attention to detail because any loose or incorrect connections may result in electrical problems or safety hazards. Adhere to correct wiring practices, ensuring that each circuit is reconnected correctly to the new panel. Taking these precautions ensures a safe and efficient electrical system once the replacement is complete, enhancing the overall functionality and safety of your electrical setup.
Step #7. Individual Circuit Testing
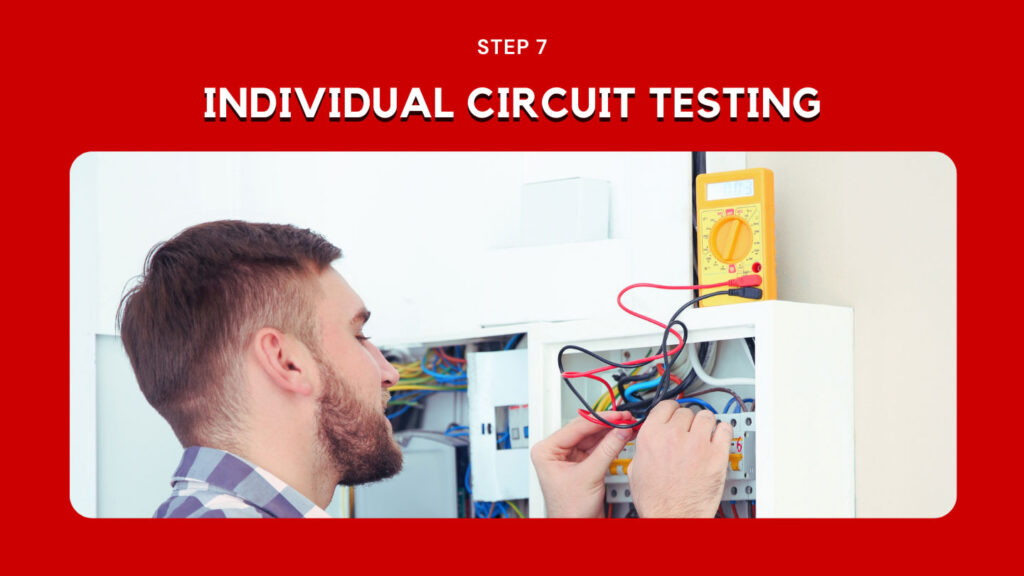
It is a critical phase in the installation of an electrical system, involving a meticulous examination of each circuit to ensure safety and functionality.
- Circuit Verification: After reconnections, it’s essential to verify that all connections are secure. Loose or faulty connections can lead to electrical hazards, so this step is crucial.
- Circuit Breaker Testing: Each circuit breaker should be tested deliberately. This involves overloading them to check if they trip correctly when there’s an excess load. This step ensures that in case of a power surge or overloading, the circuit breaker will protect the system by cutting off power.
- Resetting Assessment: Once a circuit breaker has tripped, it should reset without complications. This assessment ensures that the breaker can be easily restored to its operational state.
- Outlet and Switch Inspection: All outlets and switches are inspected to confirm they are functioning correctly. Faulty outlets or switches can lead to electrical fires or accidents, so it’s important to identify and rectify any issues.
- Appliance Functionality Check: Connected appliances are tested to verify their optimal functionality within the new electrical system.
- Safety and Efficiency: This thorough testing phase helps proactively detect and address any immediate problems or anomalies. It ensures the newly installed electrical system operates safely and efficiently, providing peace of mind regarding its reliability.
Step #8. Comprehensive System Testing
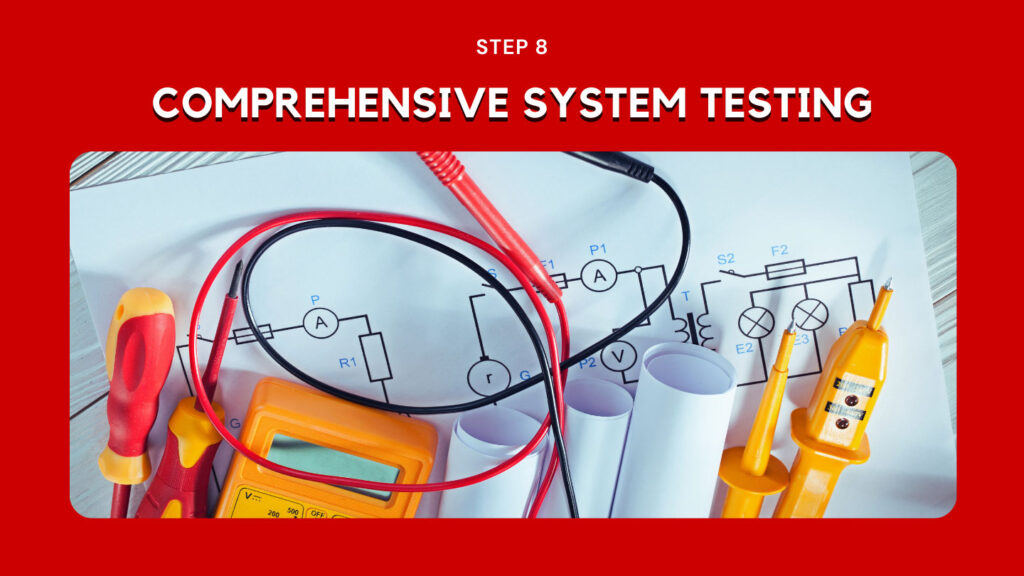
Conduct a comprehensive system test to evaluate the overall functionality of your electrical system. Begin by examining voltage stability and ensuring even load distribution. Look for any anomalies or irregularities in how the system functions. This comprehensive testing allows you to identify and address any issues or discrepancies that may have been missed during earlier stages of the replacement process.
By resolving any problems that arise during testing, you ensure that your electrical system operates at its best, maximizing safety and reliability. This step is crucial in confirming the integrity of your electrical infrastructure, providing assurance that it can efficiently meet your electricity needs without risks or interruptions.
Step #9. Grounding and Bonding Verification
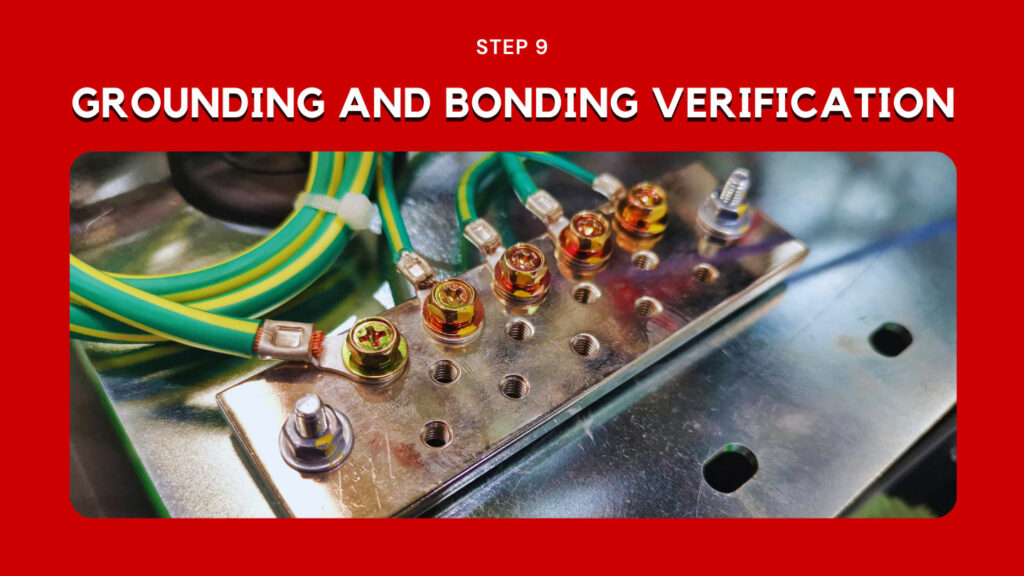
Verification of grounding and bonding is essential for safety. It’s crucial to ensure that both the new electrical panel and the entire electrical setup adhere to local electrical codes and regulations concerning grounding and bonding.
This verification process includes confirming that all circuits are properly grounded to prevent electrical shocks and mitigate the risks associated with electrical faults. Effective grounding and bonding not only safeguard against potential hazards but also enhance the overall safety and efficiency of the electrical system, providing peace of mind that your electrical infrastructure is not only functional but also meets the essential safety standards to protect both people and property.
Step #10. Labeling and Mapping
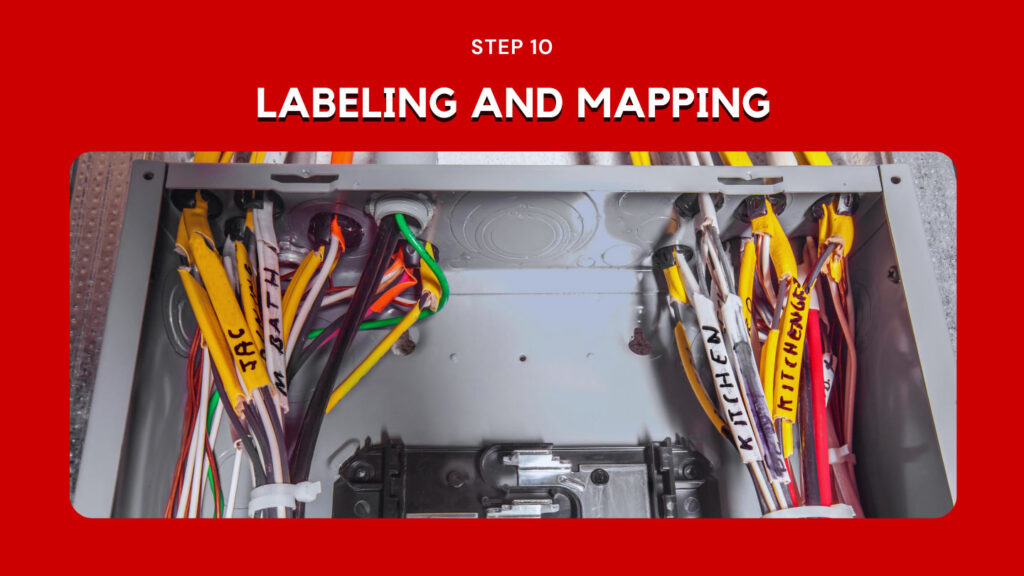
Labeling and mapping are crucial for future maintenance and troubleshooting. This involves the meticulous labeling of each circuit within the new electrical panel, clearly indicating their intended purpose. Additionally, creating a comprehensive map that corresponds to each circuit and its connected outlets or appliances is essential.
These labeling and mapping efforts streamline future maintenance and troubleshooting endeavors. By providing a clear roadmap of your electrical system, you save time and effort when it comes to identifying and resolving issues. This organization not only enhances efficiency but also contributes to the overall safety and functionality of your electrical infrastructure, ensuring that it remains a reliable and well-maintained part of your home or facility.
Step #11. Compliance and Safety Check
It’s essential to thoroughly assess the entire electrical installation to ensure it aligns with local electrical codes and safety regulations. This includes a meticulous safety check, searching for any loose connections, exposed wires, or other potential hazards that could compromise safety.
Addressing any compliance or safety issues promptly is imperative. This ensures that your electrical system meets all necessary safety standards and regulations, minimizing the risk of electrical accidents, fires, or other hazards. A comprehensive compliance and safety check is the last line of defense to guarantee that your newly installed electrical system operates securely and in accordance with legal requirements.
Read also Electrical Panel Replacement and Home Insurance: 15 Things You Must Know >>>
Step #12. Final Cleanup and Inspection
The final phase entails a meticulous cleanup of the work area, removing debris, tools, and materials to ensure a safe environment. It’s vital to double-check all connections and wires for accuracy and security. Consider arranging a final inspection by a qualified electrician or local authorities specializing in electric panel upgrade services to verify that the installation complies with safety standards before restoring power to your home.
This comprehensive last step guarantees that your electrical panel replacement project isn’t just functional but also prioritizes safety and adherence to all necessary regulations, providing peace of mind that your upgraded electrical system is both reliable and compliant with industry standards.
After Installation: Troubleshooting and Maintenance
Following the completion of your electrical panel installation, it’s crucial to focus on troubleshooting and maintenance. This phase ensures the ongoing functionality and safety of your electrical system. Troubleshooting common issues, implementing maintenance tips, and knowing when to seek professional assistance are key elements to keep your electrical system reliable and secure.
Troubleshooting Common Issues

Troubleshooting common electrical issues is essential for homeowners to maintain the reliability and safety of their electrical systems. Identifying and addressing these issues promptly can prevent more significant problems and ensure uninterrupted electrical supply.
Common electrical issues include:
- Frequent Circuit Overloads: If you experience frequent circuit overloads leading to tripped breakers, it could be due to excessive electrical load. Distribute the load more evenly across circuits or consider a panel upgrade if needed.
- Tripped Breakers or Blown Fuses: Check the electrical panel for tripped breakers or blown fuses. Reset the breaker or replace the fuse if necessary, but if it happens frequently, it could indicate a more significant problem.
- Flickering Lights: Flickering lights may be caused by loose or damaged wiring, or a faulty light fixture. Inspect the wiring connections and replace or repair any damaged components.
- Hot Outlets or Switches: If outlets or switches feel hot to the touch, it’s a sign of overheating. This can be due to loose connections, overloading, or faulty wiring. Turn off the power to that circuit immediately and consult an electrician.
- Burnt Smell or Sparks: A burning odor or sparks near electrical outlets or the panel is a serious issue. Shut off the power to the affected area immediately and contact a professional electrician to investigate and resolve the problem.
- Intermittent Power Loss: Intermittent power loss could be caused by loose connections, damaged wiring, or a failing breaker. Carefully inspect the affected circuits and consult an electrician if necessary.
- GFCI or AFCI Trips: Ground Fault Circuit Interrupters (GFCIs) and Arc Fault Circuit Interrupters (AFCIs) may trip due to faults in the electrical circuit or connected devices. Reset them, and if the issue persists, consult a professional.
- Persistent Electrical Humming: An unusual humming sound from an outlet or switch may indicate a loose wire or a faulty device. Turn off the power to that circuit and have it inspected.
Maintenance Tips

To maintain the reliability and safety of your electrical system, consider these essential maintenance tips:
- Regular Inspections: Periodically check your electrical panel for loose connections, signs of wear, or corrosion.
- Cleanliness: Keep the area around the panel free of clutter and debris to ensure proper ventilation.
- Test GFCIs and Smoke Detectors: Test Ground Fault Circuit Interrupters (GFCIs) and smoke detectors regularly to ensure they are functioning correctly.
- Scheduled Inspections: Schedule professional inspections every few years to identify potential issues early and ensure compliance with safety standards.
- Avoid Overloading: Avoid overloading circuits by distributing the load evenly to prevent tripped breakers.
- Surge Protection: Consider installing surge protectors to safeguard sensitive electronics from power surges.
- Upgrades: If your electrical system is outdated, consider upgrades to meet modern energy demands and safety standards.
When to Call a Professional
Call the professional electrician from the Electricians Service Team when encountering persistent circuit overloads, frequent breaker trips, hot outlets or switches, burning odors, or sparks near electrical components. Additionally, for any complex electrical work, wiring issues, or panel upgrades, always seek the expertise of a licensed electrician to ensure safety and compliance with regulations.
Wrapping Up: Key Takeaways from Your Electrical Panel Journey
In this comprehensive 12-step guide to electrical panel replacement, we’ve covered every aspect of this essential home improvement project. Starting with understanding electrical panels and recognizing signs for replacement, safety considerations were prioritized throughout. The step-by-step replacement process, from preparation and evaluation to disconnection, installation, and testing, ensures a safe and efficient transition.
Remember, grounding, labeling, and compliance checks are critical. Post-installation, proactive troubleshooting and routine maintenance are key to a reliable system. Always be cautious and know when to call a professional for complex issues.
Your electrical panel journey should prioritize safety, compliance, and functionality, even if you opt for a 200 amp panel upgrade. By following these steps and key takeaways, you can ensure that your electrical system remains efficient, safe, and up-to-date, meeting your energy demands and enhancing your home’s overall safety and reliability.
FAQs on Electrical Panel Replacement
Signs you need a panel upgrade: frequent circuit overloads, tripping breakers, flickering lights, outdated panels, or planning major renovations. Upgrade for safety and increased electrical capacity.
Replacing an electrical breaker box should be done by a licensed professional due to safety and code compliance concerns. DIY attempts can be dangerous.
To choose the right electrical panel for your home, consult a licensed electrician who can assess your electrical needs, ensure code compliance, and recommend an appropriate panel based on your specific requirements.
When replacing an electrical panel, turn off the main power supply, use appropriate personal protective equipment, follow local electrical codes, hire a licensed electrician if unsure, and work in a well-ventilated area to prevent hazards.
The time for an electrical panel upgrade varies but usually takes 4-8 hours, depending on complexity, size of the panel, and any necessary wiring adjustments. Consulting an electrician is advisable.
Common issues to watch for after replacing an electrical panel include circuit overloads, improper wiring, faulty breakers, and inadequate grounding. Regular inspections and a licensed electrician’s help are advisable.


