You flip the light switch to the on position — and nothing happens. The light fixture just won’t turn on. Before you call an electrician or start pulling wires, there’s a simple, proven troubleshooting process that can pinpoint the problem fast.
In this guide, the Electricians Service Team walks you through exactly what to check and how to test your light switch and fixture step by step — the same process our electricians use in the field.
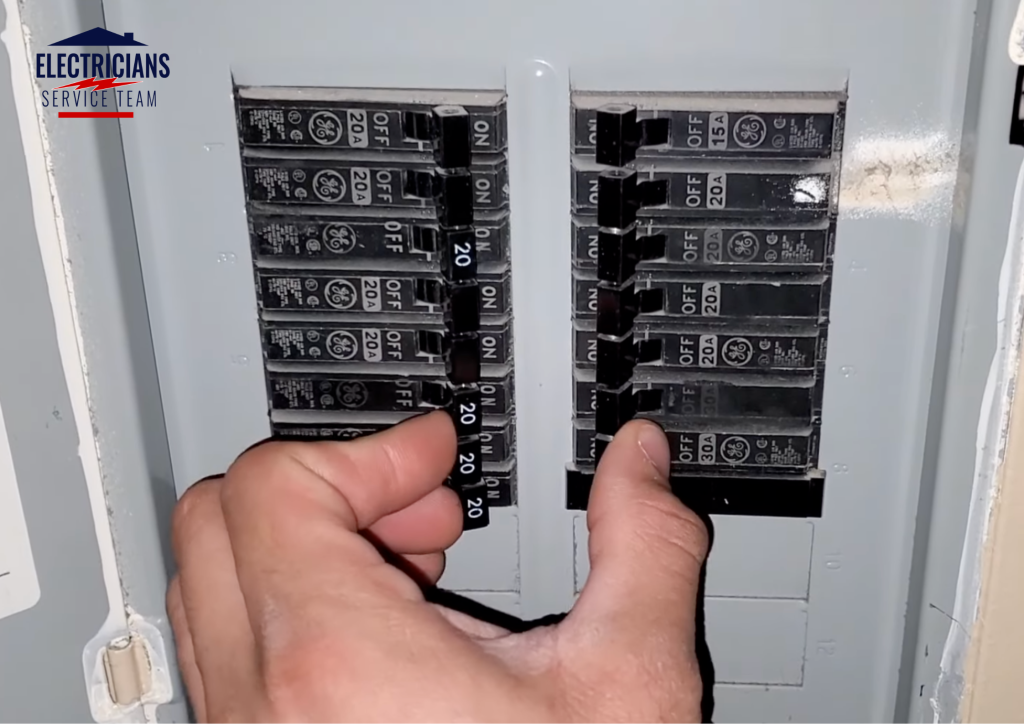
Step 1: Check Your Circuit Breakers
The first thing you want to do when a light fixture isn’t turning on is head to your electrical panel. Check every breaker and make sure none are in the tripped position and none have been accidentally switched off.
A tripped breaker will typically sit in a middle position — not fully on or fully off. Reset it by switching it fully off first, then back on. If the breaker trips again right away, stop and call a licensed electrician — that signals a deeper issue.
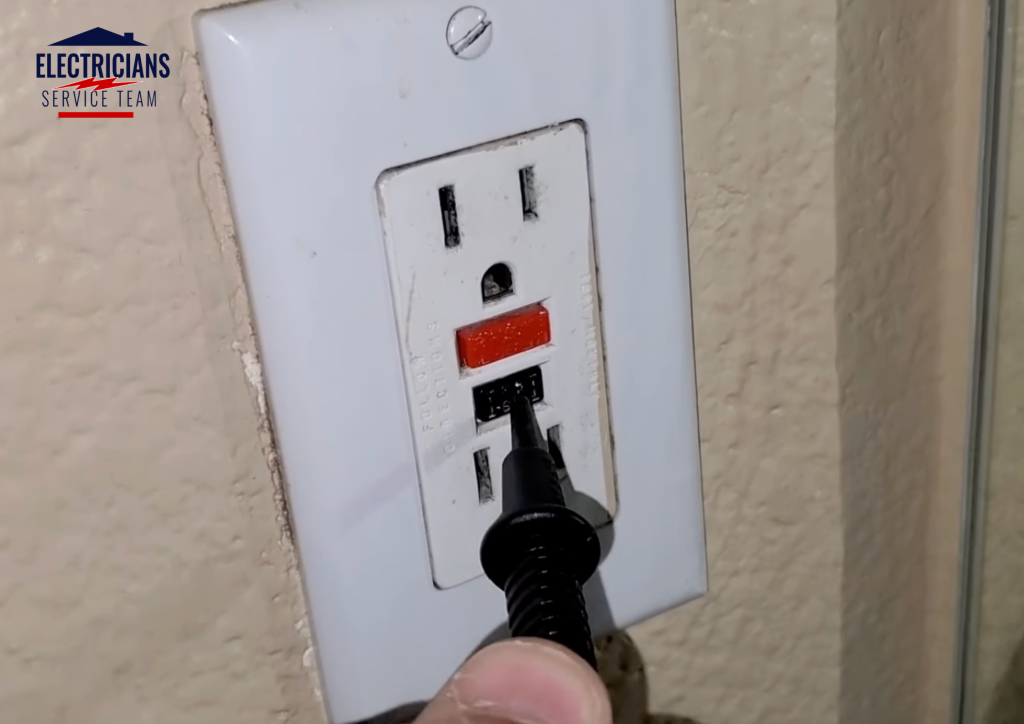
Step 2: Check Your GFCI Outlet
If the fixture is in or near a kitchen, bathroom, garage, or any area near water, the next thing to check is the GFCI (Ground Fault Circuit Interrupter) outlet on that circuit.
A tripped GFCI will have its button pushed outward. Simply press the reset button and check whether your light comes back on.
Pro Tip: One GFCI outlet can protect multiple outlets and fixtures on the same circuit. Even if the GFCI is in a different room, it may be the reason your light is out.
Step 3: Test for Voltage at the Light Fixture
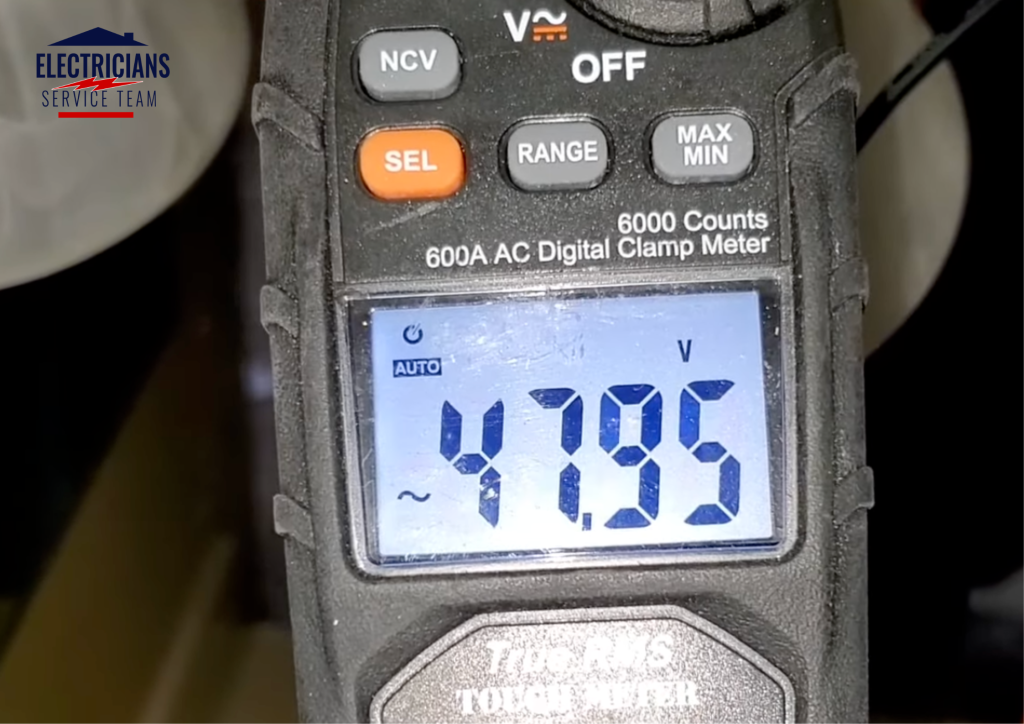
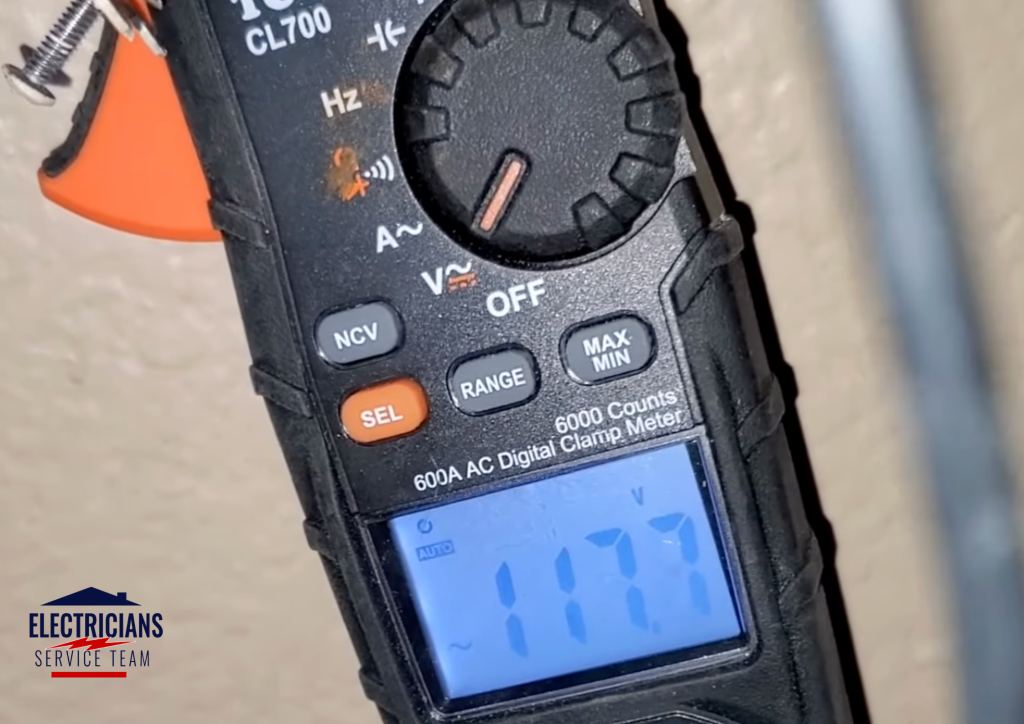
If your breakers are fine and the GFCI isn’t tripped, the next step is to test whether 120 volts is actually reaching the light fixture. For this you’ll need a multimeter set to volts AC.
Remove the wire nuts connecting the fixture wires and insert your multimeter leads into them. Turn the light switch on and read the voltage:
- Close to 120 volts — power is reaching the fixture correctly
- Significantly lower (e.g. 54 volts) — the switch is not passing full voltage to the fixture
- Zero — no power is reaching the fixture at all
If you’re only getting partial voltage — say 54 volts instead of 120 — the problem is in the switch itself, not the fixture or the breaker.
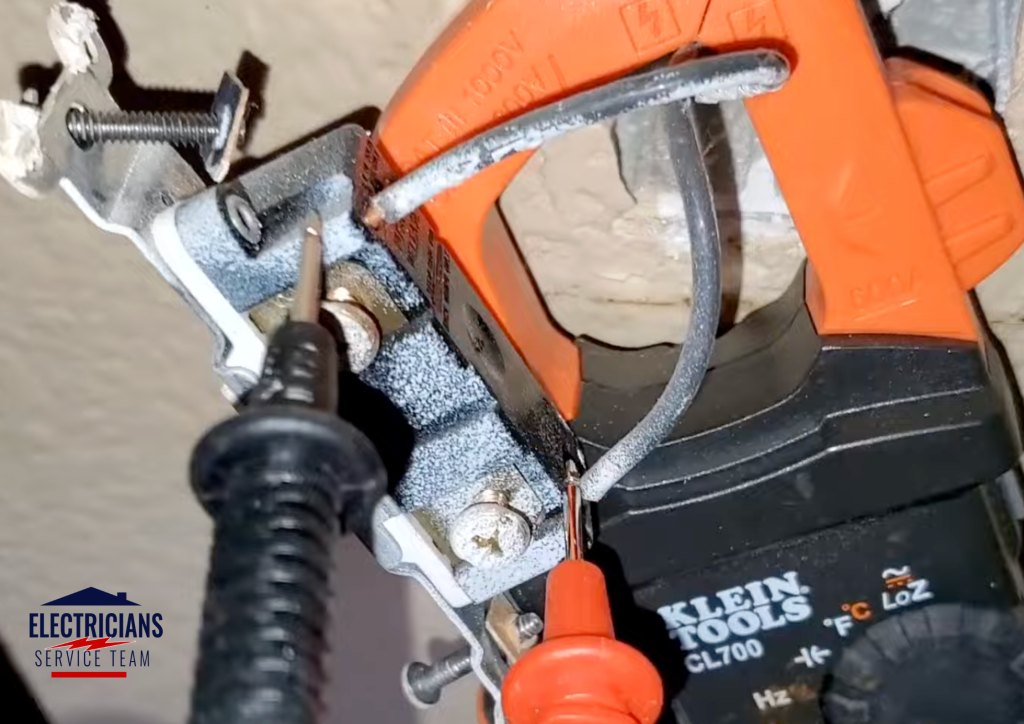
Step 4: Pull the Switch and Test Incoming Voltage
If voltage at the fixture is low or absent, test the lines coming directly into the light switch from the circuit breaker.
- Turn the circuit breaker OFF
- Remove the switch plate screws and set the plate aside
- Remove the two screws securing the switch to the box and pull it out
- Turn the circuit breaker back ON
- Set your multimeter to volts AC and test the incoming lines
If you now see 120 volts at the incoming lines, power is reaching the switch correctly from the breaker — meaning the switch itself is the problem.
Step 5: The Wiggle Test — A Simple but Revealing Diagnostic
Before replacing the switch, try this: with the breaker on and the switch in the on position, carefully grab the switch and wiggle it around gently. Listen and watch closely.
- If you hear crackling or popping — the switch is failing internally
- If the light flickers or cuts out as you move the switch — there’s a loose or damaged connection inside
This crackling is a clear sign the switch needs to be replaced. A faulty internal connection was preventing the full 120 volts from reaching the fixture.
Step 6: Replace the Faulty Light Switch
Replacing a standard single-pole light switch is one of the most beginner-friendly electrical DIY tasks. Here’s how:
- Turn the circuit breaker OFF and confirm no voltage with your multimeter
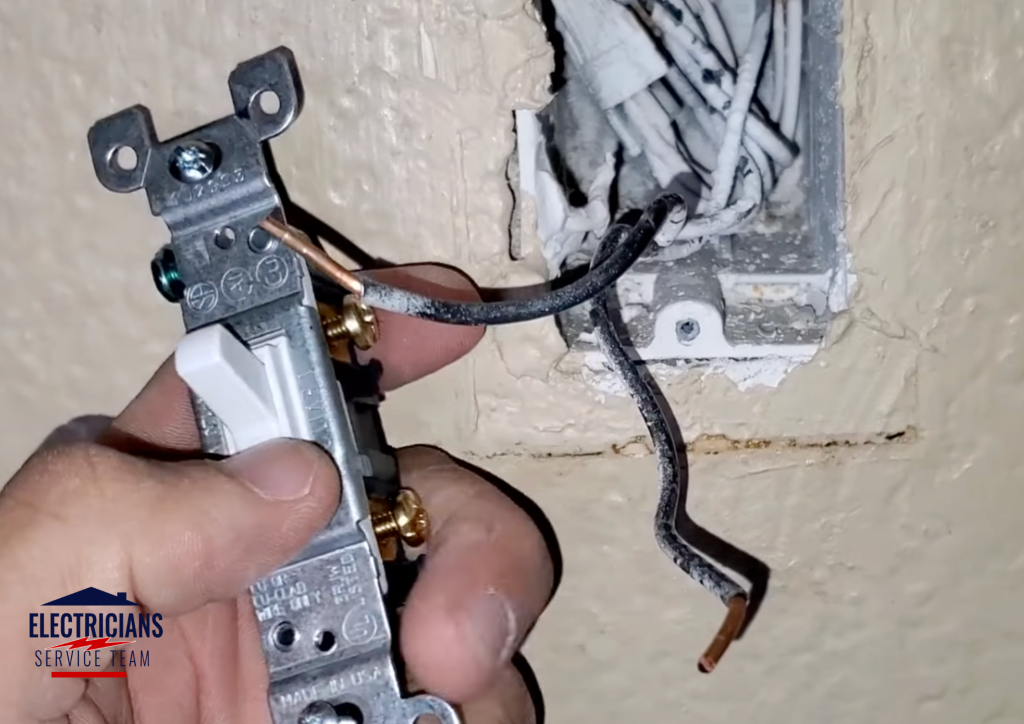
- Inspect the wire ends — if you see any discoloration or minor charring, cut that section off for a clean copper connection
- Disconnect the wires from the old switch — if inserted through the back, use a small flat-head screwdriver in the release slot to free them
- Connect the wires to your new switch — on a basic single-pole switch, it doesn’t matter which wire goes on which terminal
- Make sure the switch is oriented correctly — ON when flipped up, OFF when flipped down
- Secure the switch back into the box and replace the plate cover
- Turn the circuit breaker back ON and test
Screw vs. Back-Insert Wiring: You can connect wires either through the back slots or around the side screws. Many experienced electricians prefer the side screws for a more secure, reliable connection.
When to Stop DIY and Call a Professional
This repair is manageable for most homeowners — but call Electricians Service Team if:
- Your circuit breaker trips again after resetting
- You find burned, melted, or heavily discolored wiring inside the box
- You’re seeing zero voltage even at the incoming switch lines
- You have a three-way switch — the wiring is more complex
- You’re uncomfortable working near live wires at any point
Need a Fast Fix? Call Electricians Service Team
With the breaker confirmed off, loosen the terminal screws and remove both black wires and the ground wire. When installing the new switch, wrap each wire clockwise around its terminal screw before tightening — this pulls the wire into the screw as you tighten, creating a stronger, more secure connection. On a standard single-pole switch, it doesn’t matter which black wire goes on which terminal. Reconnect the ground wire first, fold the wires back into the box, reinstall the switch, restore power, and test.
If the lights come on after the swap — the switch was the problem all along, not the wiring.
The most common causes are a tripped circuit breaker, a tripped GFCI outlet, a faulty light switch, or a loose wiring connection. Start by checking your breaker panel, then the GFCI outlet, then test voltage at the switch with a multimeter.
Wiggle the switch gently while it’s in the on position. If you hear crackling or popping sounds, or the light flickers when you move it, the switch has a failing internal connection and needs to be replaced.
Yes — replacing a basic single-pole light switch is a beginner-friendly DIY task. Always turn off the circuit breaker first and confirm no voltage with a multimeter before touching any wires.
Low voltage at the fixture means the switch is not passing full power through to the light. This points to a faulty switch rather than a problem with your breaker or the fixture itself.
A GFCI (Ground Fault Circuit Interrupter) outlet protects against electric shock in areas near water like kitchens and bathrooms. One tripped GFCI can cut power to multiple outlets and fixtures on the same circuit — even in a different room. Press the reset button to restore power.